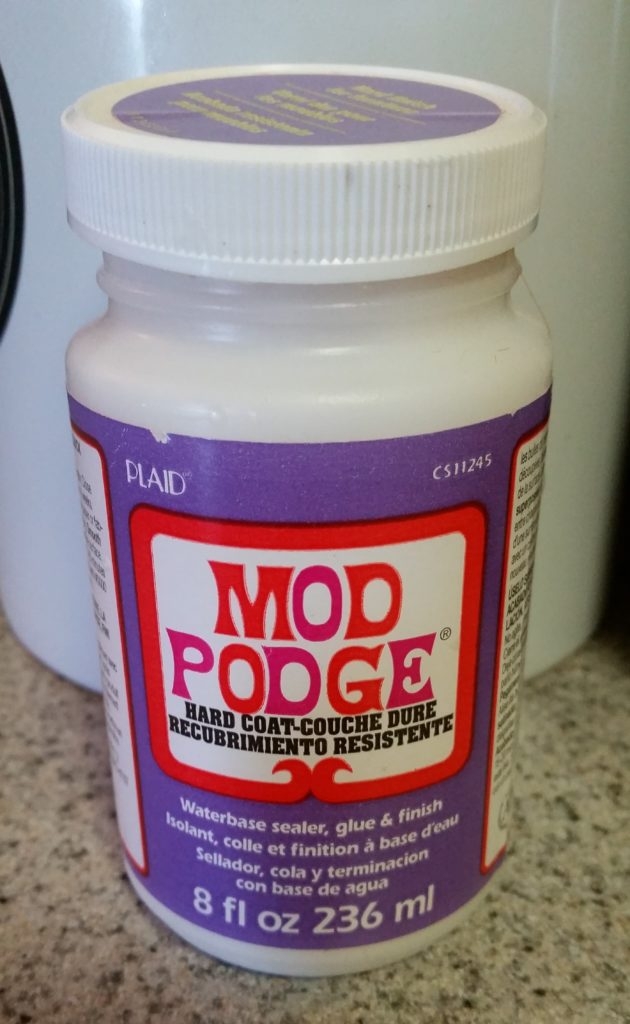
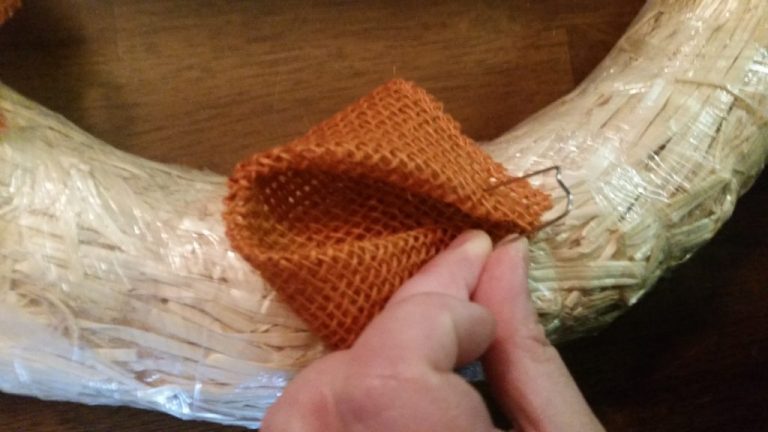
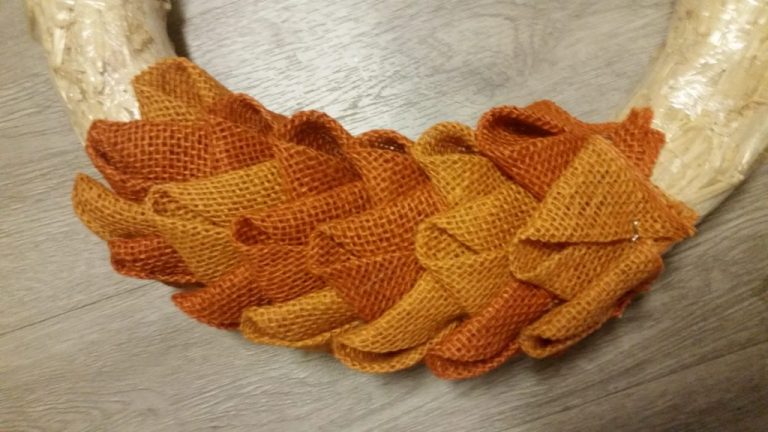
Pumpkin Wreath

Hey guys! It’s my favorite time of year! I absolutely love fall and I am excited to share how to make a burlap pumpkin wreath with you.

For this wreath, you will need:

  • 1 – 18″ straw wreath form
  • 5-6 – rolls of 5.5 inch orange burlap ribbon. (I used two different shades of orange , but that is optional.)
  • 4-5 boxes of floral greening pins
  • Scissors
  • Hot glue gun and glue sticks 
  • Mod podge ( optional ) I’ll explain why these are optional.
  • Foam brush (optional
  • Wax paper ( optional )

Embellishments for decorating

( This part is optional because I want you to have fun and pick out whatever you want to decorate. )

  • 1 roll of naturally wired wire
  • 4-5  fall berry steams ( I used 2 different kinds )

  • 3 different colored packs of fall leaves

Now let's get started!

Step 1:

Lay some wax paper on a flat surface. Unroll your burlap ribbon. After this step you will be cutting 5.5″x 5.5″ squares, so I measured out a strip that would make 8 squares. I laid it down on the wax paper. I cut out about 6 more strips and laid them on the wax paper. You can cut more or less this just depends on how much space you have. Just remember that you will have to repeat this step a few times. Now take your mod podge and your foam brush and lightly coat your burlap ribbon. You only need to do one side. Let your ribbon dry completely. 

   Don’t soak your ribbon in mod podge. You only need to brush a light layer.
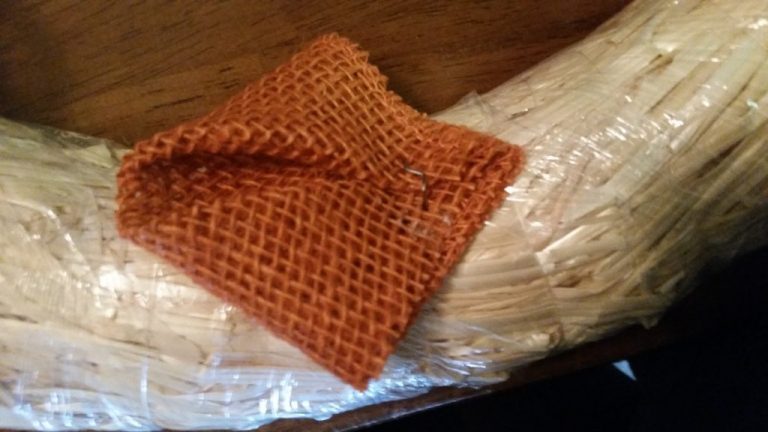
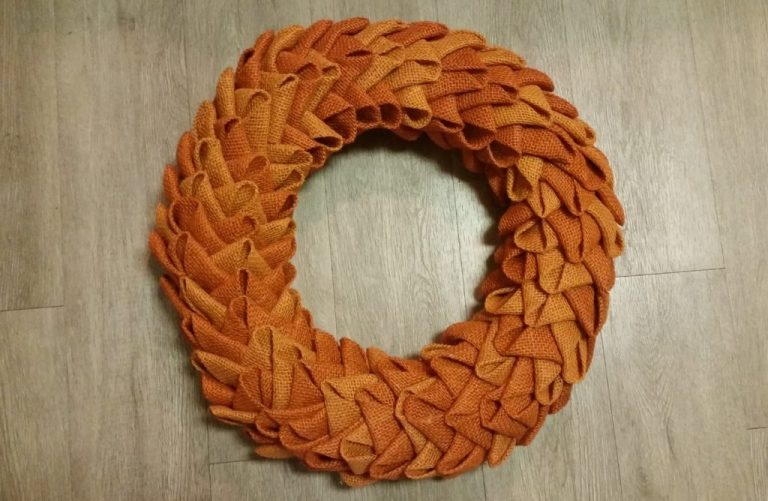
This step is optional. It can be a bit time consuming, but I believe that it is worth the extra time. The mod podge will help your burlap from fraying. It will also make your wreath stronger. We want our beautiful creations to last a long time. 

Step 2:

Once your ribbon is dry fold a corner over to measure out a square. You are going to be cutting several 5.5″ x 5.5″ squares. You can use scissors or a rotary cutter to cut them. If you use a rotary cutter make sure you have a cutting mate underneath the ribbon. 

Step 3:

Fold your square into a triangle.

Step 4:

Take on of the outside corners and fold it down to the middle.

Step 5:

Take the other outside corner and fold it down to the middle to make a peddle.

Step 6:

Take your floral greening pin and pin it to your wreath form. It’s best to start on the inside of your form.

Step 7:

Take your next petal and overlap the first one. Keep pinning and overlapping your petals moving from the inside out.

Here you can see how I layered the two different colors. There is no right way to do this step. I just randomly put the lighter color orange ribbon in with the darker one. I think this helps break up the color a bit making it look more eye-popping. 

Step 8:

When you have just about covered your entire wreath form with petals, lift up your first set of petals and tuck your last set underneath and pin. Now go back through your wreath with your hot glue gun and go underneath your petals and put a small amount of glue. Be very careful not to burn your fingers. Make sure you hold the pedal down for just a minute so the glue will stick. You do not have to put glue behind every petal, but it’s good to go through with glue-gun for extra support. I also take my left-over burlap ribbon and hot glue it to the back to cover up the straw wreath form.

Step 9:

Take a deep breath, the hard part is over! Now it’s time to let loose and have fun decorating! 

The first thing I work on is the steam. Now the naturally wired wire is very springy! I’m not going to lie, it is a bit of a pain to work with, but the end result looks great! I used a skinny bottle to start wrapping the base of the steam. Wrap the wire smaller as you go up. I cut 4 pieces of the wire to make supports to go on the inside.

Once you get your support pieces in fold the ends over. Then fold the top pieces and then twist to match the top.

Now take 4 greening pins and pin it to the top of your wreath. I also added a little hot glue at the base for added support.

If you don’t want to use this wire, there are plenty you can use in it’s place. 

Now have fun adding the berry steams and leaves. I also took some of the extra wire from the steam and twisted them to look like vines. For the vines and berry steams I used the greening pins to attach them to the wreath. Then I used the hot glue gun to add the leaves. Have fun and be creative!!

Now stand back and admire your finished wreath. I hope you enjoyed this tutorial and if you have any questions feel free to leave me a comment below. 

1 thought on “Pumpkin Wreath”

  1. Avatar

    Greetings from Idaho! I’m bored at work so I decided to browse your
    site on my iphone during lunch break. I really like the information you provide here and can’t wait to take a look when I get home.
    I’m shocked at how quick your blog loaded on my cell phone ..
    I’m not even using WIFI, just 3G .. Anyways, superb site!

    my site … Buy CBD

Leave a Comment

Your email address will not be published. Required fields are marked *